Repairing a hole-y sweater

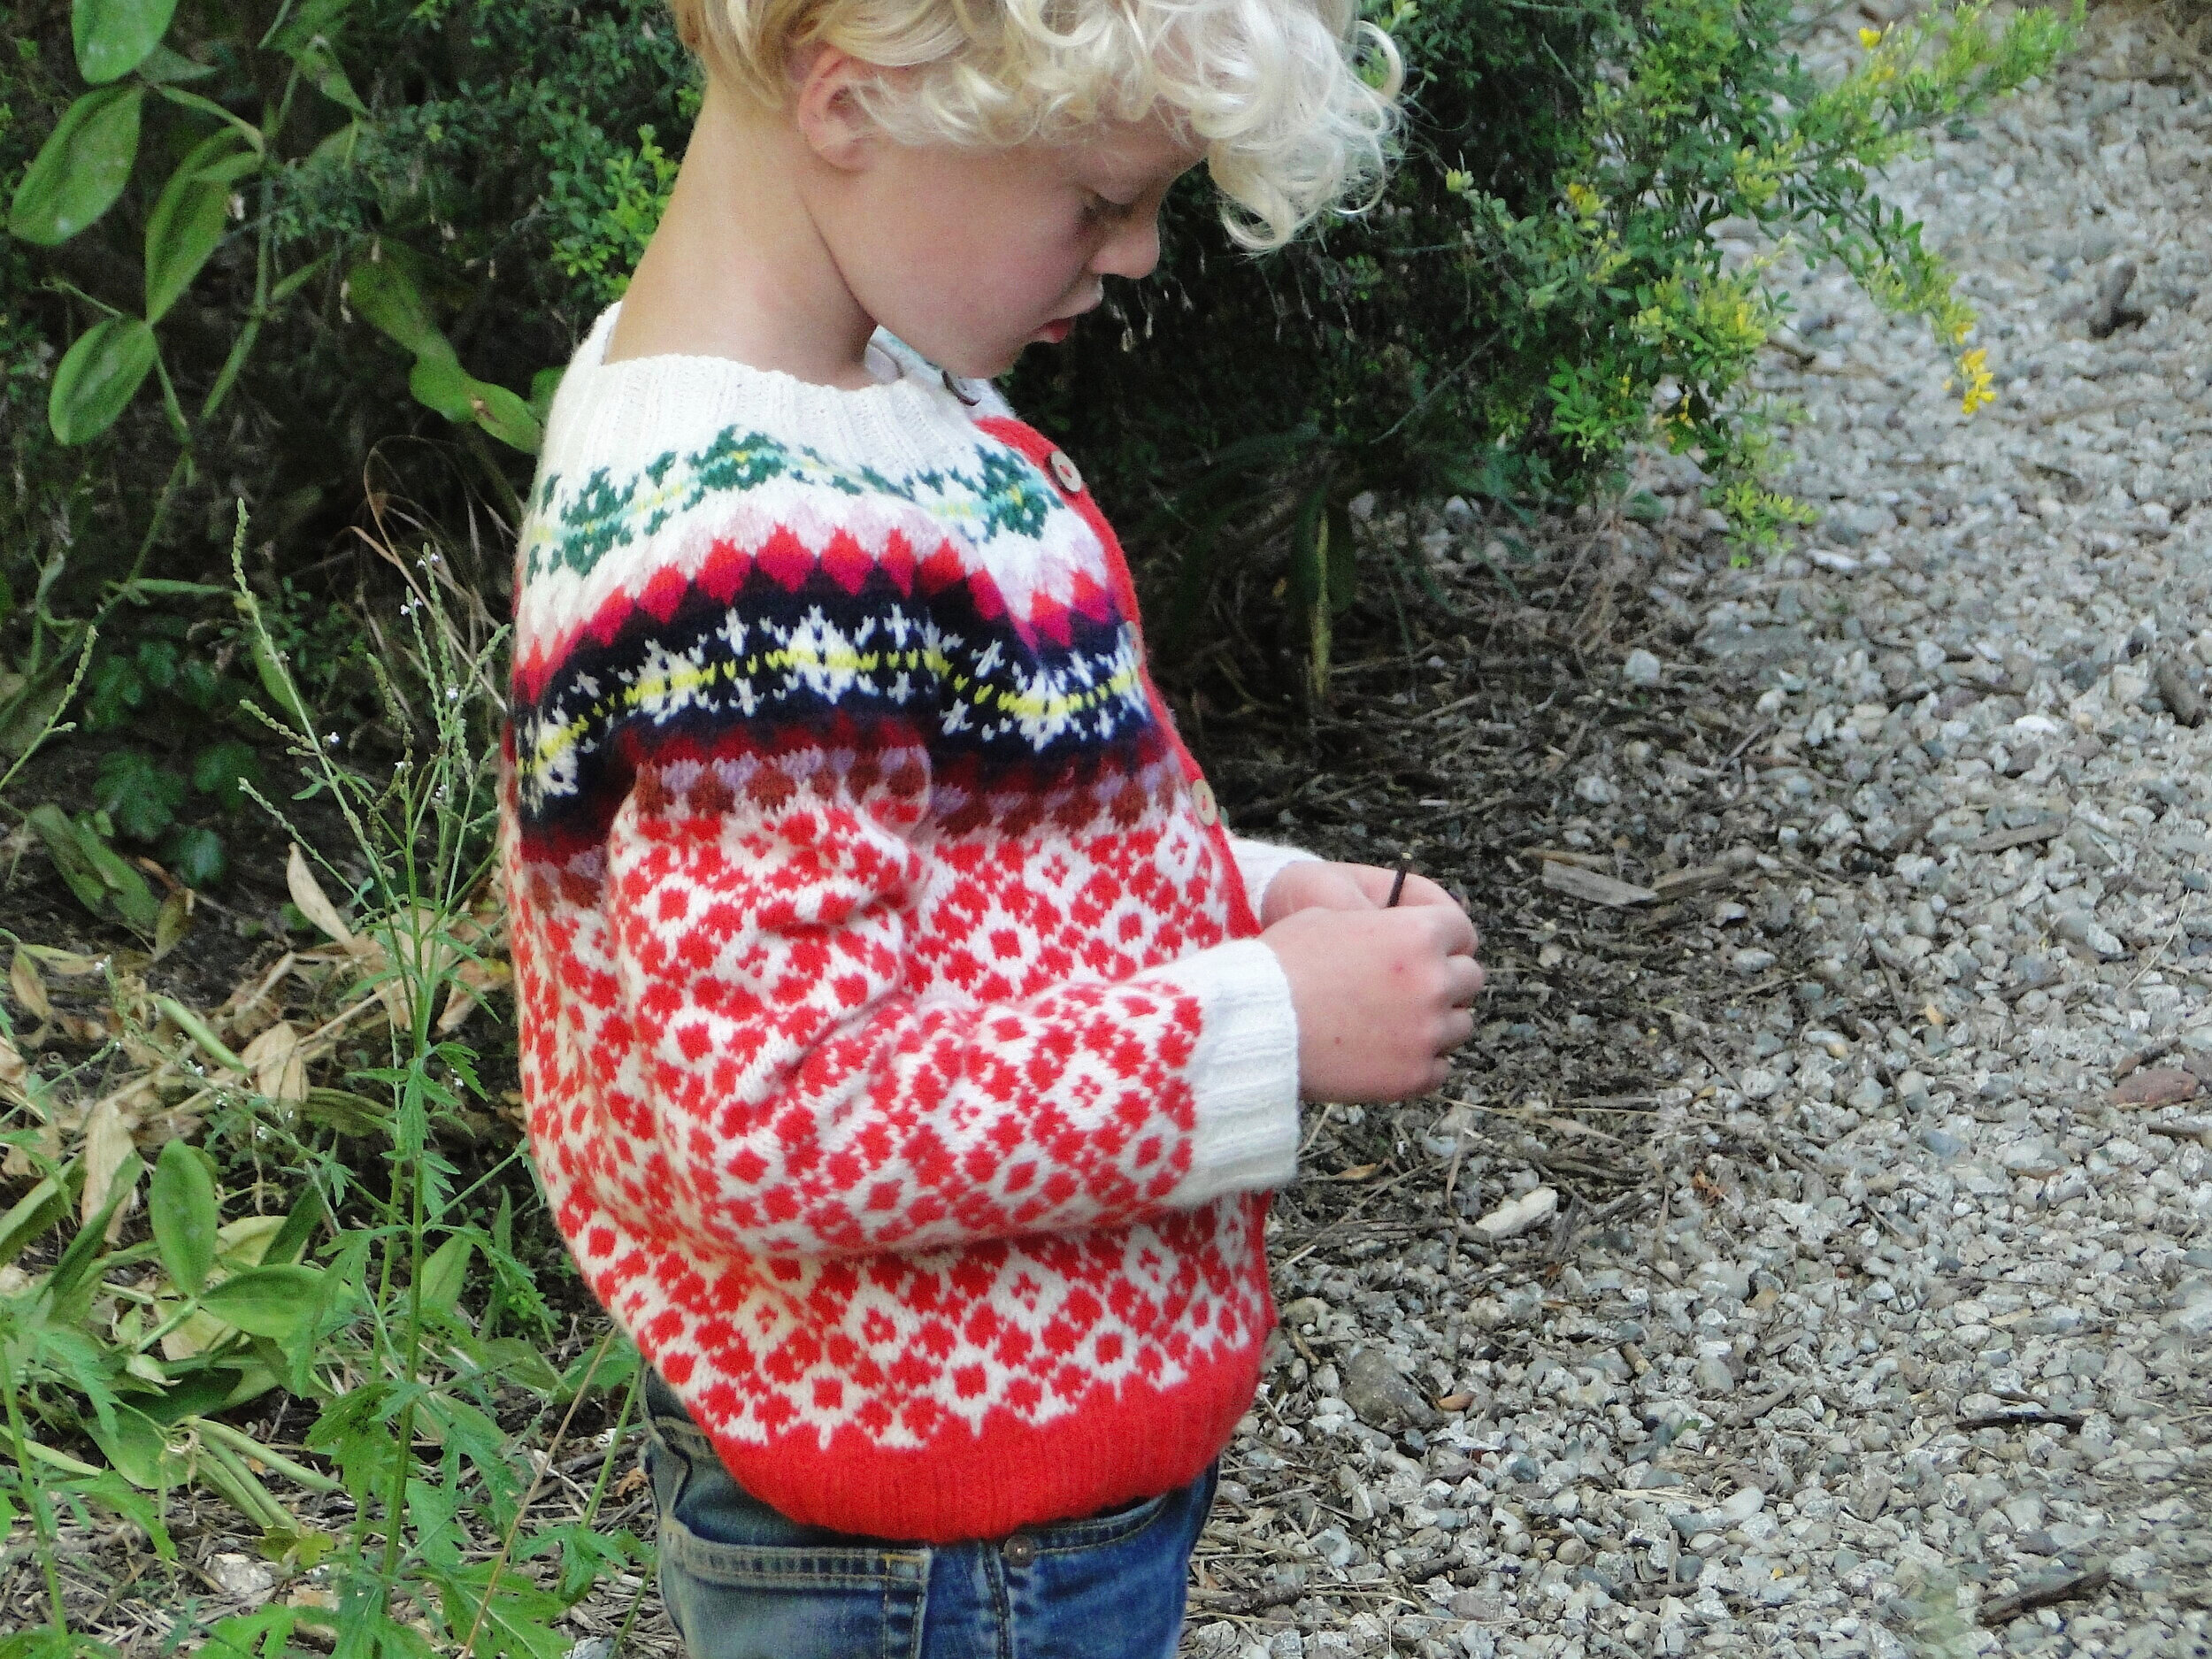
A customer asked me if I could repair her daughter’s well-worn cardigan that she bought from me a few years ago. I took the opportunity to photo-record the process of repair..

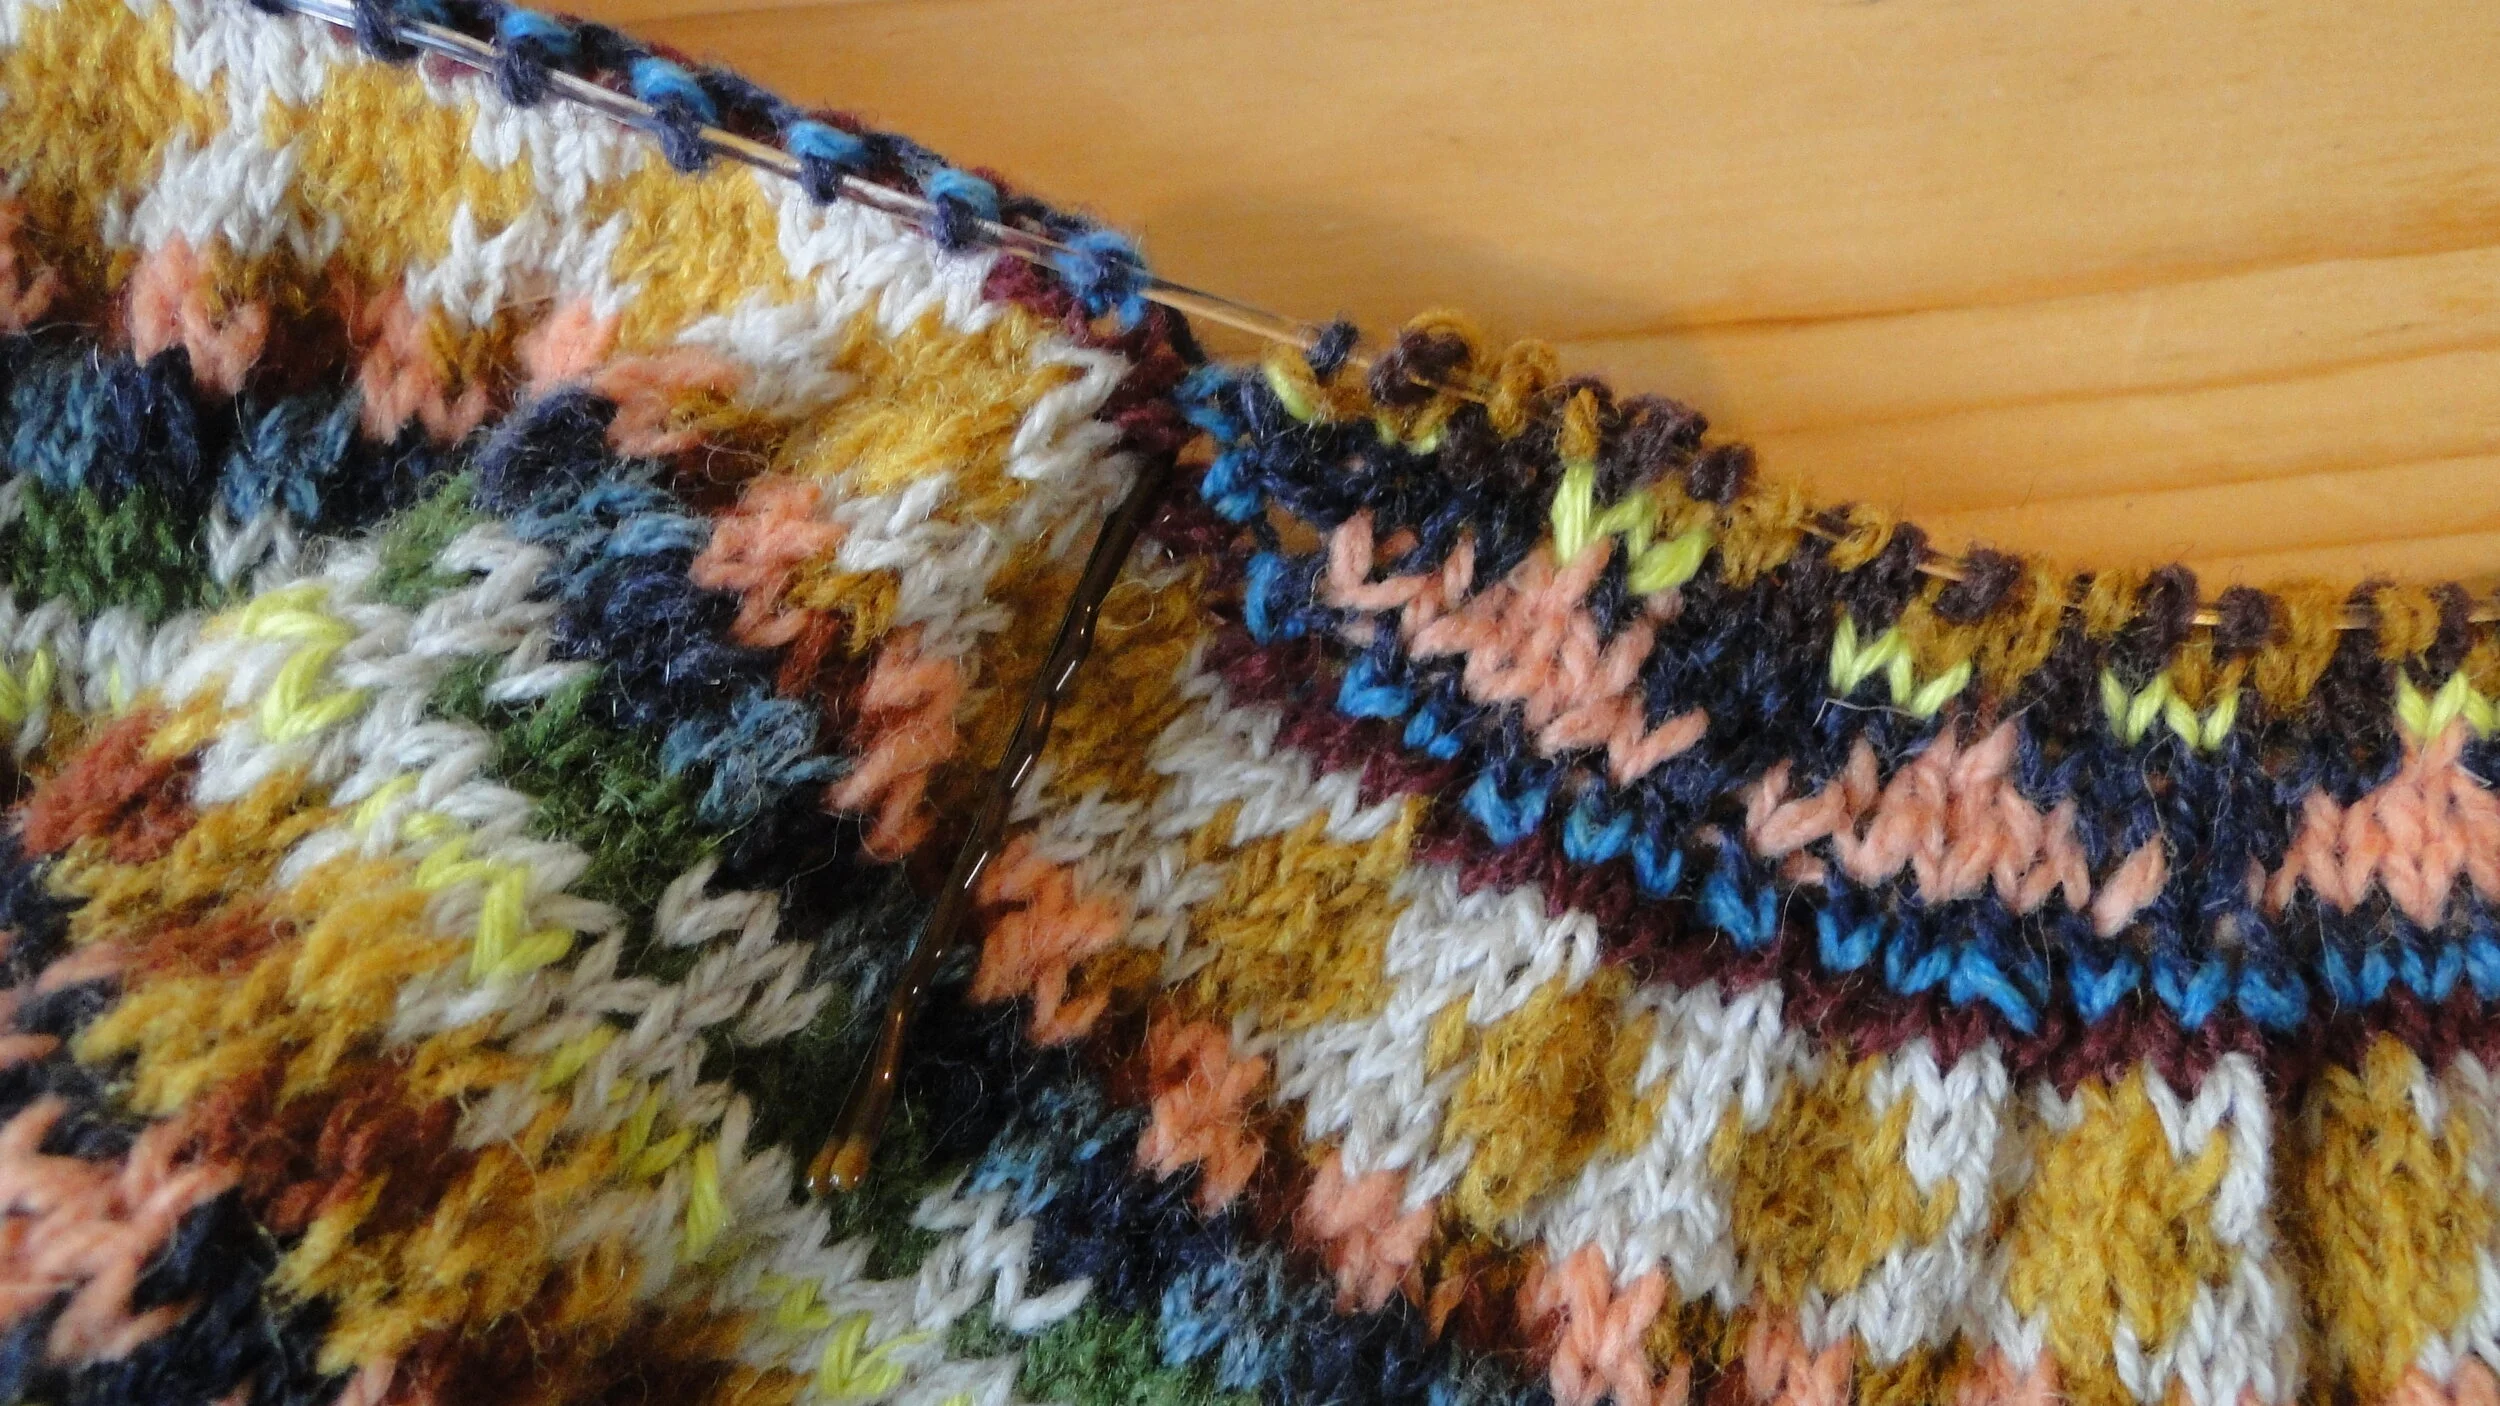
If a sweater is in stocking stitch, it’s easy to un-do one row in the middle of a sleeve, like this.

Two sleeve ends have been successfully extracted.

I put the sleeve back on the machine and re-knit the bit that I took off (this can obviously be done by hand if your sweater has been hand-knitted).
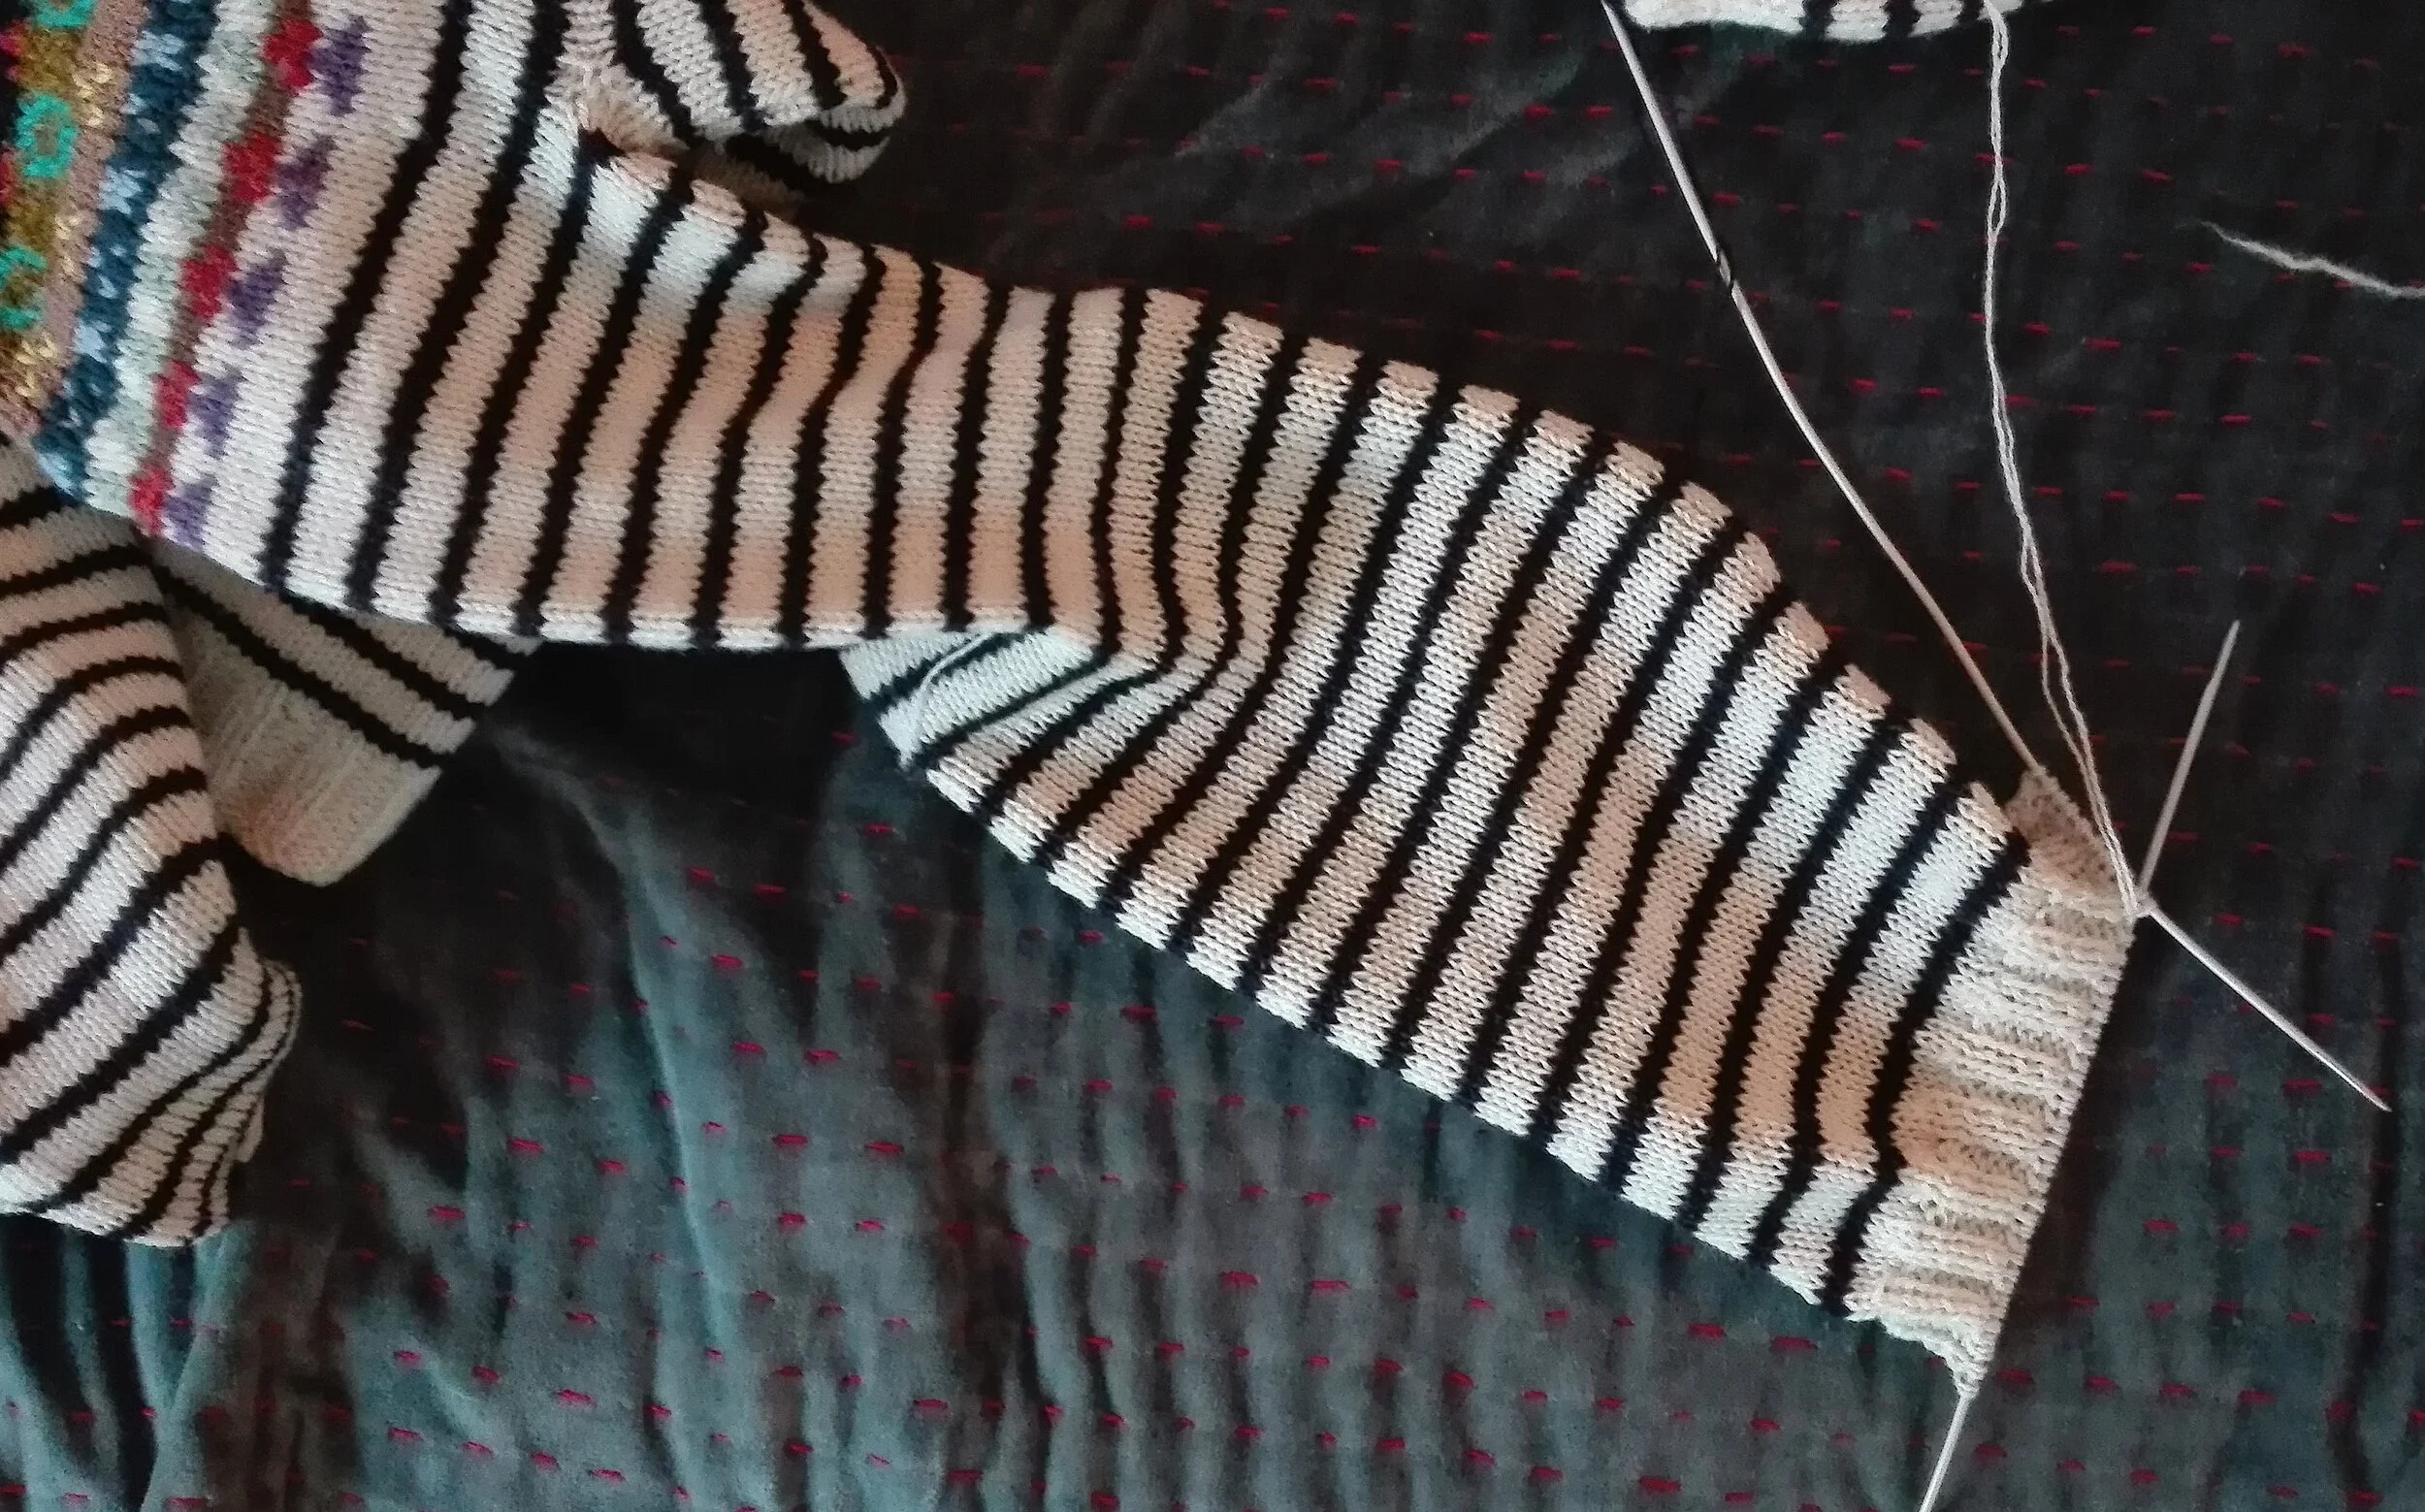
Cuffs can get especially grubby on childrens’ sweaters, and it’s so satisfying to re-do them!

I like to wash the knitwear at this point in cedar-laced hot water, which smells lovely and is moth-repellent.

Ta daa!

As good as new (almost) !

Cecile in her cardigan. Now it can be worn a few more years by her little sister!